 « Back to Blog Index
For anyone venturing into the rewarding world of yeast breads, the term "proofing" (often used interchangeably with "proving," or "blooming" when referring to initial yeast activation) is fundamental. It's not just a passive waiting period; proofing is a critical stage where yeast performs its magic, fermenting sugars in the dough to produce carbon dioxide gas. This gas is what causes the dough to rise, developing the characteristic airy texture and complex flavors we associate with delicious, well-made bread. Understanding the science and art of proofing is key to transforming basic ingredients into light, flavorful loaves.
The Science Behind the Rise: What Happens During Proofing?
Yeast (Saccharomyces cerevisiae) is a single-celled living microorganism. When introduced to a dough environment with flour (providing starches and some sugars) and water, and often a bit of added sugar for readily available food, it begins its metabolic processes. This fermentation results in two primary byproducts crucial for bread:
- Carbon Dioxide (CO2): As yeast consumes sugars, it releases carbon dioxide gas. This gas gets trapped within the elastic gluten network developed during kneading. These trapped gas bubbles expand, causing the dough to inflate or "rise." The extent and evenness of this rise directly impact the bread's final volume and crumb structure (the pattern of holes inside the loaf).
- Alcohol (Ethanol) and Other Organic Compounds: Fermentation also produces ethanol and a variety of other volatile organic compounds (esters, aldehydes, etc.). While much of the alcohol evaporates during baking, these compounds contribute significantly to the characteristic aroma and complex flavor profile of yeast-leavened breads. Longer, slower fermentation often leads to more nuanced flavors.
Proper proofing allows sufficient time for these processes to occur, developing the dough's structure, texture, and taste to their full potential.
The Typical Stages of Proofing in Bread Making:
Most traditional bread recipes involve at least two main proofing stages, although some more advanced techniques, like those used for sourdough, may incorporate additional or modified steps (e.g., cold fermentation/retardation):
- First Proof (Bulk Fermentation or Primary Fermentation): This takes place after the dough has been mixed and kneaded. The dough is typically placed in a lightly oiled bowl, covered to prevent a dry skin from forming, and left in a warm, draft-free place to rise. During this stage, the yeast actively multiplies and produces CO2, causing the dough to increase significantly in volume (often expected to double). This period is crucial not only for leavening but also for developing the dough's gluten structure (making it more elastic and extensible) and much of its flavor. The duration can vary widely, from 1 to 3 hours or even longer for some doughs or in cooler environments.
- Second Proof (Final Proof, Shaping Proof, or Pan Proof): After the first proof, the risen dough is usually "punched down" or gently deflated. This action expels large air pockets, redistributes the yeast and its food supply, and helps to equalize the dough's temperature. The dough is then shaped into its final form (loaves, rolls, braids, etc.), placed in its baking vessel (loaf pan, baking sheet), covered again, and allowed to rise for a second time. This final proof allows the shaped dough to regain volume and develop the delicate structure needed for good oven spring (the rapid expansion of the dough during the initial phase of baking). This stage is usually shorter than the first proof and is critical for the bread's final texture and appearance.
Some recipes, particularly those using Active Dry Yeast, may also include an initial "proofing the yeast" step. This involves dissolving the yeast in a small amount of warm water (often with a pinch of sugar) for 5-10 minutes to ensure it's alive and active (it should become foamy or bubbly) before it's added to the main ingredients. Instant yeast generally does not require this pre-activation step.
How to Reliably Tell When Your Dough is Properly Proofed:
Relying solely on the time stated in a recipe for proofing can be misleading, as numerous environmental and ingredient factors influence yeast activity and dough development. Visual and tactile cues are far more reliable indicators:
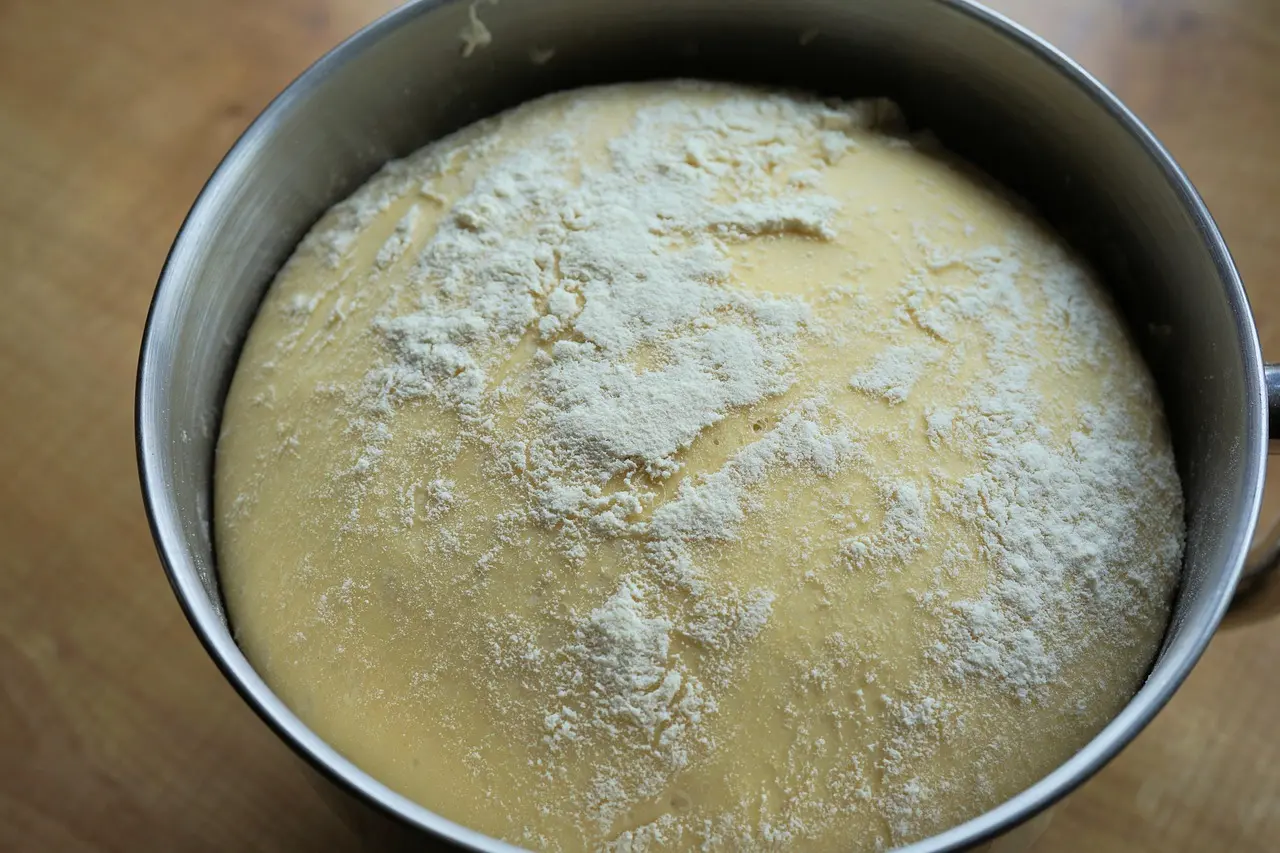
- Significant Volume Increase: For the first proof (bulk fermentation), the dough should typically double, or even slightly more than double, in size. For the second (final) proof, it might increase by 50-75% or nearly double again, depending on the type of bread and desired crumb. The dough should look visibly puffy, aerated, and full of life.
- The "Ripe Test" or "Poke Test" (Primarily for the Final Proof): This is a classic baker's technique to gauge if the dough is ready for the oven.
- Gently and quickly press your fingertip about 1/2 inch (1-1.5 cm) into the side of the proofing dough.
- Under-proofed Dough: The indentation will spring back very quickly and almost completely disappear. The dough is still too "young" and needs more time to develop and accumulate gas. Baking at this stage will likely result in a dense loaf with poor oven spring and a tight crumb.
- Perfectly Proofed Dough: The indentation will spring back slowly and only partially, leaving a slight, visible indent that doesn't fill in completely. The dough feels light and airy but still has some resilience. This is the ideal state for baking!
- Over-proofed Dough: The indentation will remain completely, and the dough might even sigh or deflate slightly around the poke. The dough has risen too much; the gluten structure may have over-stretched and weakened, and the yeast may have exhausted its food supply. Baking an over-proofed dough can result in a flat, dense loaf with a coarse, open crumb, poor flavor, or one that collapses dramatically in the oven. If mildly over-proofed, you might be able to gently reshape it and let it rise for a very short period again, but significant over-proofing is difficult to salvage.
- Overall Appearance and Feel: Properly proofed dough should look billowy and full of air. It should feel soft and delicate to the touch. For some doughs, you might even see small gas bubbles just beneath the surface.
Key Factors Influencing Proofing Time:
Understanding these factors can help you manage your proofing environment:
- Ambient Temperature: Yeast is a temperature-sensitive organism. It is most active in a warm environment, ideally between 75-85°F (24-29°C). Colder temperatures significantly slow down yeast activity (this principle is used for "cold fermentation" or retarding dough in the refrigerator, which can develop more complex flavors over a longer period). Temperatures that are too hot (e.g., above 115-120°F or 46-49°C for extended periods) can weaken or even kill the yeast.
- Dough Temperature: The initial temperature of your dough after mixing also plays a role. Aim for a dough temperature in the optimal range for yeast activity.
- Amount and Type of Yeast: More yeast generally leads to faster proofing, though too much can negatively affect flavor. Different types of yeast (active dry, instant, fresh) also have varying activity levels. Refer to our guide on yeast types.
- Type and Amount of Flour: Whole grain flours, which contain more bran and germ, can sometimes ferment faster or behave differently than refined white flours due to different enzyme activity and nutrient availability for the yeast.
- Other Ingredients:
- Sugar: Provides readily available food for yeast, which can speed up fermentation initially. However, very high concentrations of sugar can actually inhibit yeast by drawing water out of the yeast cells (osmotic pressure).
- Salt: Essential for flavor and controlling yeast activity. Salt helps to regulate fermentation, preventing the yeast from working too quickly and exhausting itself. Too much salt can severely inhibit or kill yeast.
- Fats (Butter, Oil): Fats can coat yeast cells and gluten strands, slightly slowing down yeast activity and gluten development, which can sometimes lead to longer proofing times.
- Humidity: Higher humidity in the proofing environment helps to keep the surface of the dough moist, preventing a dry "skin" from forming, which could restrict its ability to expand. Using a lightly oiled bowl and covering the dough well (with plastic wrap, a damp towel, or a dedicated proofing box) helps maintain humidity. Learn more about humidity's impact on baking.
Mastering the art of proofing is a significant step towards baking consistently excellent bread. It takes a bit of practice and keen observation. Pay close attention to how your dough looks and feels, utilize the poke test effectively, and consider your kitchen environment. Soon, you'll develop an intuition for knowing precisely when your dough is perfectly proofed and ready to transform in the heat of the oven into a beautiful, flavorful loaf.