 « Back to Blog Index
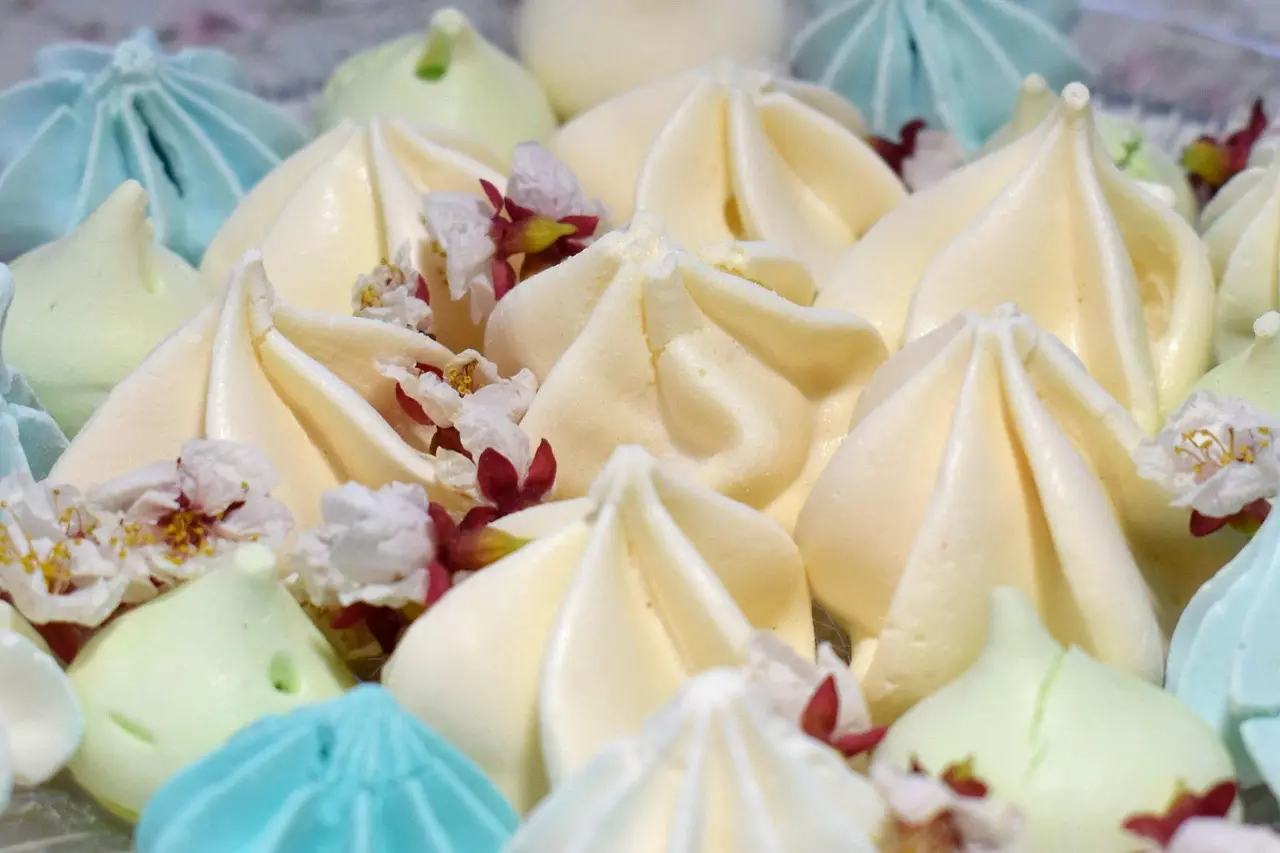
Meringue, that seemingly simple concoction of whipped egg whites and sugar, is a true culinary marvel. It can transform into crisp, airy cookies, form the ethereal base of a pavlova, create a cloud-like topping for pies, or become the silky-smooth foundation for buttercream frostings. Yet, for many home bakers, meringue can be notoriously finicky, prone to weeping, beading, or collapsing. The good news is that with a solid understanding of the science behind meringue and adherence to a few key techniques and tips, you can consistently achieve perfect, stable, and glossy peaks every time, unlocking a world of delightful desserts.
The Science Behind the Magic of Meringue
At its core, meringue is a foam created by vigorously whipping egg whites. Here's what happens on a molecular level:
- Unfolding Proteins: Egg whites are primarily composed of water and various proteins (like ovalbumin and ovomucin). The physical action of whipping denatures these proteins, causing their tightly coiled structures to unfold.
- Trapping Air: As these proteins unfold, they expose hydrophobic (water-repelling) and hydrophilic (water-attracting) ends. They rearrange themselves to form a network around the air bubbles introduced by the whisk, trapping the air and creating the foam.
- The Role of Sugar: Sugar is crucial for meringue stability and texture. It dissolves in the water content of the egg whites and, as it's incorporated, it helps to strengthen the protein network, making the foam more stable and less likely to collapse. Sugar also contributes to the glossy appearance and the final texture of the baked meringue (crisp or chewy).
- The Power of Acid: Adding a small amount of acid, such as cream of tartar, lemon juice, or white vinegar, helps in a couple of ways. It helps the egg white proteins denature (unfold) more easily, allowing them to form a foam more quickly. It also helps to stabilize the foam by preventing the proteins from bonding too tightly, which can lead to a less voluminous or even curdled meringue.
Essential Tips and Techniques for Flawless Meringue:
Achieving perfect meringue consistently boils down to careful preparation, the right ingredients, and proper technique:
- Immaculately Clean Equipment is Non-Negotiable: This is the golden rule of meringue making. Any trace of fat or grease – whether from egg yolk, oily fingers, residual oil on your bowl or beaters – will disastrously interfere with the egg whites' ability to whip up to their full volume and form a stable foam. Fat molecules compete with the egg white proteins for space around the air bubbles, preventing a strong foam structure.
- Bowls: Use glass, stainless steel, or copper bowls. These materials are non-porous and can be cleaned thoroughly to ensure they are grease-free. Avoid plastic bowls, as they can retain greasy residues even after washing.
- Beaters/Whisk: Ensure your electric mixer beaters or hand whisk are perfectly clean and dry. Wiping them down with a little white vinegar and then rinsing and drying can help remove any stubborn greasy film.
- Egg Whites: Freshness and Temperature:
- Freshness: While some older baking lore suggests that aged egg whites whip up to greater volume, very fresh egg whites generally create a more stable and less prone-to-weeping meringue because their proteins are stronger.
- Temperature: Egg whites at room temperature (around 68-70°F or 20-21°C) will whip up more quickly and achieve greater volume than cold egg whites. Their proteins are more relaxed and unfold more easily. To bring eggs to room temperature quickly, you can place whole eggs in a bowl of warm (not hot) water for 5-10 minutes.
- Separation is Key: Separate your eggs carefully, one at a time, into a small bowl before adding the white to your main mixing bowl. This way, if a yolk breaks in one egg, you haven't contaminated the entire batch of whites. Even a tiny speck of yolk can ruin your meringue.
- The Role of an Acidic Stabilizer: Adding a small amount of an acidic ingredient helps to stabilize the egg white foam and makes it less likely to be over-whipped.
- Cream of Tartar: The most common stabilizer. Use about 1/8 teaspoon per large egg white (or 1/2 teaspoon per cup of egg whites). Add it once the egg whites become foamy.
- Lemon Juice or White Vinegar: Can be used as an alternative. Use about 1/2 teaspoon per large egg white. Be mindful that these can impart a slight flavor if too much is used.
- Adding Sugar – Gradually and Patiently: Sugar is vital for stability and texture.
- Type of Sugar: Superfine (caster) sugar is ideal because its smaller crystals dissolve more easily and completely into the egg whites, resulting in a smoother, glossier, and more stable meringue. If you only have granulated sugar, you can pulse it briefly in a food processor to make it finer (but don't turn it into powdered sugar).
- Timing and Method: Begin adding the sugar only after the egg whites have reached the soft peak stage (when lifted, the peaks will form but then gently droop over). Add the sugar very slowly, one or two tablespoons at a time, while the mixer is running at a medium-high speed. Allow the sugar to mostly dissolve after each addition before adding the next. Rushing this step can result in undissolved sugar, leading to a gritty meringue that may weep or bead.
- Whipping to the Correct Stage – Recognizing the Peaks:
- Foamy Stage: Egg whites are bubbly and opaque but have no real structure. This is when you typically add the acid.
- Soft Peaks: When you lift the beaters (or whisk), peaks will form, but their tips will gently curl over and droop. The meringue will be white but not yet glossy. Sugar is usually started at this stage.
- Medium/Firm Peaks: Peaks will hold their shape well, but the very tips might still curl slightly. The meringue will start to look glossier. This stage is often used for pie toppings that will be lightly baked.
- Stiff/Glossy Peaks: Peaks will stand straight up or bend over just slightly at the very tip when beaters are lifted. The meringue should be thick, very glossy, and smooth. If you rub a bit of the meringue between your thumb and forefinger, it should feel perfectly smooth, with no grittiness from undissolved sugar. This is the stage typically needed for meringue cookies, pavlovas, or for folding into other mixtures.
- Avoid Over-Whipping: If you whip too long after stiff peaks have formed, the protein network can break down. The meringue will start to look dry, dull, grainy, curdled, or clumpy, and may begin to separate or weep liquid. It's very difficult to salvage an over-whipped meringue.
- Humidity is Meringue's Nemesis: Meringue is hygroscopic, meaning it readily absorbs moisture from the surrounding air. On very humid days, it can be challenging to get egg whites to whip to full volume, and baked meringues are much more prone to becoming sticky, weeping, or not drying out properly. If possible, try to make meringue on dry, low-humidity days. If you must bake on a humid day, ensure your meringue is baked until very dry and crisp, and store it in an absolutely airtight container as soon as it's completely cool.
Troubleshooting Common Meringue Problems:
- Meringue Won't Whip or Stays Runny:
- Cause: Most likely due to fat contamination (even a speck of egg yolk, grease on the bowl or beaters). Can also happen if egg whites were too cold or if you added sugar too early.
- Solution: Unfortunately, once contaminated with fat, egg whites usually won't whip properly. It's best to start over with fresh whites and meticulously cleaned equipment.
- Weeping Meringue (Liquid seeps out from under a pie topping or from baked meringues):
- Causes: Undercooking the meringue (especially for pie toppings); undissolved sugar drawing moisture out; placing meringue on a cold or wet pie filling (for toppings); high humidity.
- Solutions: Ensure sugar is fully dissolved. For pie toppings, make sure the filling is hot when you spread the meringue on it, and ensure the meringue seals to the crust all the way around. Bake until lightly golden and set. Cool pies away from drafts.
- Beading (Small, golden, sugary droplets appear on the surface of baked meringue):
- Causes: Usually caused by overbaking or baking at too high a temperature, which essentially "cooks" the sugar out of the meringue structure. High humidity can also contribute.
- Solutions: Bake at the recommended temperature and for the correct time. Avoid opening the oven door unnecessarily.
- Gritty Meringue:
- Cause: Sugar was not fully dissolved during whipping.
- Solutions: Use superfine (caster) sugar. Add sugar very gradually, allowing it to incorporate and dissolve between additions. Test by rubbing a bit between your fingers; it should feel smooth.
- Shrinking, Cracking, or Collapsing Meringue (after baking):
- Causes: Underbaking (structure isn't fully set); opening the oven door too soon or too often during baking; cooling too rapidly in a drafty area; too much liquid in the meringue (e.g., from liquid flavorings).
- Solutions: Bake until fully set and dry (for crisp meringues). Allow meringues to cool slowly in the turned-off oven with the door slightly ajar. Minimize added liquids.
Exploring the Main Types of Meringue:
While the basic ingredients are similar, the method of incorporating sugar and heat defines the three main types of meringue, each with its own characteristics and best uses:
- French Meringue: This is the most common and arguably the simplest type. Raw egg whites are whipped to soft peaks, and then sugar (usually superfine) is gradually added while whipping continues until stiff, glossy peaks form.
- Stability: Least stable of the three types, as the egg whites are not cooked before baking. It should be used or baked relatively soon after making.
- Best Uses: Ideal for light and crisp meringue cookies (kisses), shells for pavlovas or vacherins, and sometimes as a simple topping for pies that will be baked immediately.
- Swiss Meringue: In this method, egg whites and sugar are combined and gently heated over a double boiler (bain-marie), whisking constantly, until the sugar is completely dissolved and the mixture is warm to the touch (typically around 120-160°F or 50-70°C, depending on the recipe). The mixture is then removed from the heat and whipped until cool and stiff peaks form.
- Stability: More stable than French meringue because the proteins are partially coagulated by the heat. It's also considered safer as the egg whites are pasteurized during the heating process.
- Texture: Very smooth, dense, and marshmallowy when soft; bakes up crisp.
- Best Uses: Excellent for silky Swiss meringue buttercream frosting, baked Alaska topping, meringue cookies, and as a stable base for other desserts.
- Italian Meringue: This is the most stable type of meringue but also considered the most technically challenging to make. It involves whipping egg whites to soft or firm peaks while simultaneously cooking a sugar syrup to a specific high temperature (usually the "soft-ball" stage, around 236-240°F or 113-115°C). The hot sugar syrup is then slowly and carefully drizzled in a thin stream into the whipping egg whites, and whipping continues until the meringue is cool, very stiff, glossy, and voluminous.
- Stability: Extremely stable due to the cooked sugar syrup, which fully cooks and stabilizes the egg white proteins.
- Texture: Very smooth, fine-textured, and holds its shape exceptionally well. It's also very glossy.
- Best Uses: Ideal for Italian meringue buttercream frosting (which is very stable), as a topping for pies (like lemon meringue pie, where it's often just lightly torched rather than fully baked), for stabilizing mousses and other desserts, and for elaborate piped decorations.
Mastering the art of meringue takes a bit of practice and careful attention to detail, but the rewards are well worth the effort. By understanding the science, employing the right techniques, and knowing how to troubleshoot common issues, you'll be whipping up beautiful, stable, and delicious meringues for all your favorite desserts with confidence and flair!